Activating or Inactivating a Carrier Contact Record
The Activate/Inactivate function allows users to activate and inactivate carrier contact records.
To Activate or Inactivate a Carrier Contact Record:
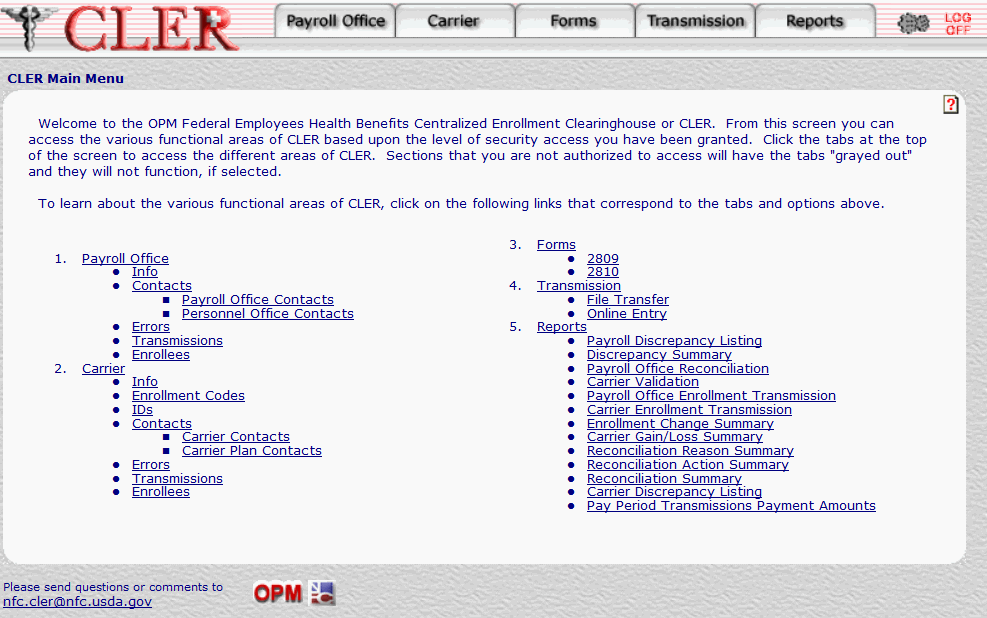
- Select the tab at the top of the CLER Main Menu.

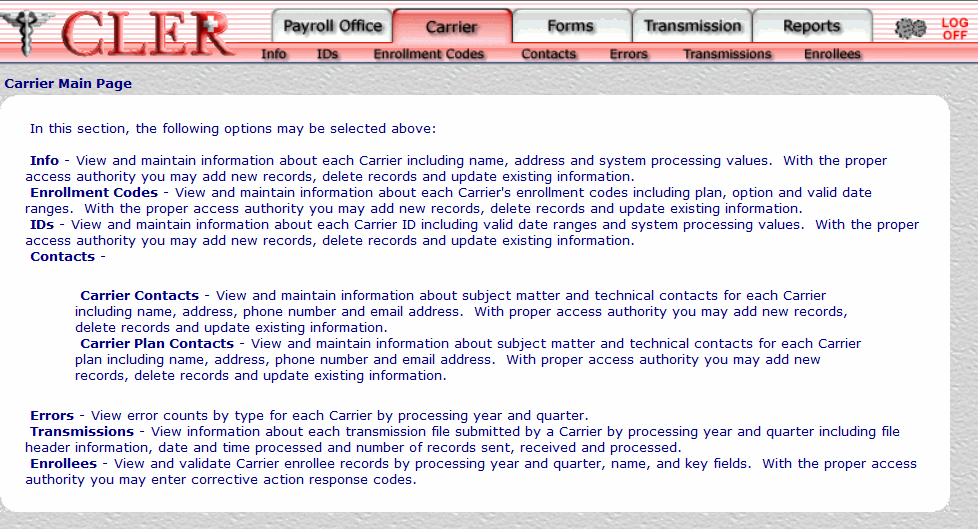
- The Carrier Main Page is displayed.

- Select at the top of the Carrier Main Page. The Contacts Main Page is displayed with the Carrier Contacts and Carrier Plan Contacts options.

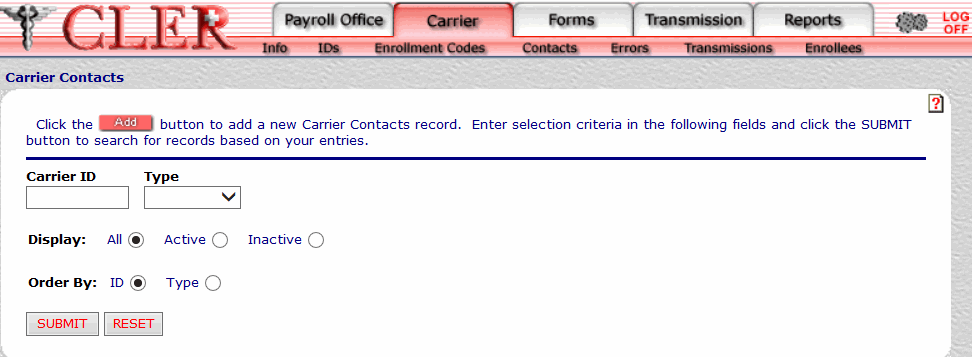
- Click the link to display the Carrier Contacts page.

- Complete the fields on the Carrier Contacts page and click .
OR
Click to clear all data entered.
Field
Instruction/Description
Carrier ID
Required, alphanumeric, 7 positions
Enter the carrier ID code assigned by NFC’s CLER Operations and Reconciliation Unit.
Type
Optional
Select either for an administrative contact or for a technical contact from the drop-down menu. The Type code indicates whether the payroll office contact is an administrative contact or a technical contact.
Display
Optional, default
Defaults to display option. Allows users to display search results by the options listed below. To choose a display option, select the radio button next to one of the following values:
- Displays all contacts for the payroll office ID and type code entered.
- Displays active contacts for the payroll office ID and type code entered.
- Displays inactive contacts for the payroll office ID and type code entered.
Order By
Optional, default
Defaults to the sort option. This field allows users to sort search results by the options listed below. To choose a sort option, select the radio button next to one of the following values:
- Search by ID number.
- Search by type code.
- The Carrier Contacts Search Results page is displayed.

Field
Instruction/Description
Carrier ID
System generated
Displays the carrier ID code assigned by NFC's CLER Operations and Reconciliation Unit.
Type
System generated
Displays type code to indicate that the payroll office contact holds an administrative position.
Displays type code to indicate that the payroll office contact holds a technical position.
Status
System generated
Displays to indicate that the record has been activated in CLER.
Displays to indicate that the record has been inactivated in CLER.
Name
Optional, alphanumeric, 30 positions maximum
Enter the name of the carrier contact.
Phone
System generated
Displays the carrier contact's telephone number.
Email
Optional, alphanumeric, 60 positions
Enter the carrier contact’s email address.
- Click to activate an inactivated record. A pop-up message is displayed to confirm the record has been activated.
- Click to close the pop-up.
- Click to inactivate an activated record. A pop-up message is displayed to confirm the record has been inactivated.
- Click to close the pop-up.
See Also |