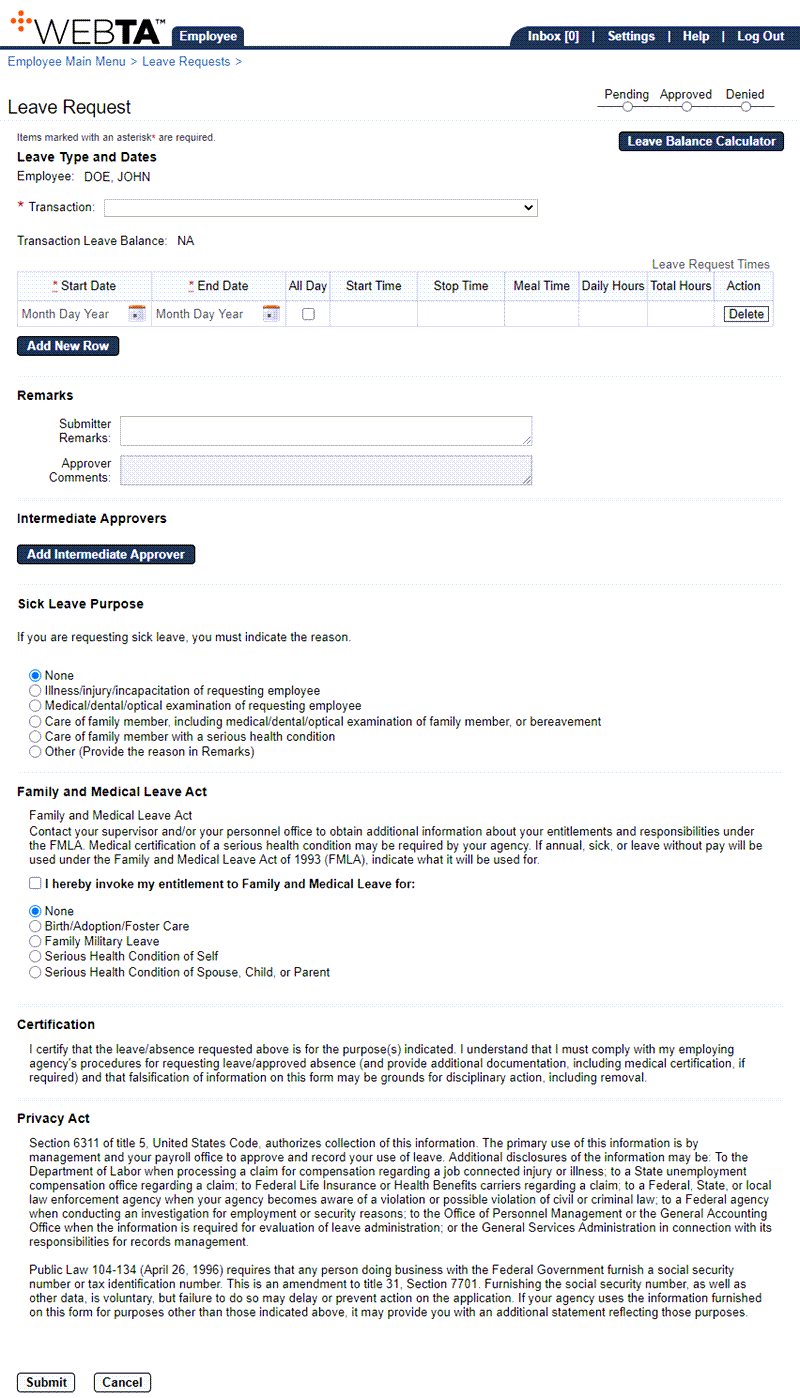
Adding a Leave Request
The Leave Request page is used to submit leave requests.
To Submit a Leave Request:
- Select the link from the Time section on the Employee Main Menu page. The Leave Requests page is displayed defaulting to current and future pending leave requests.

- Select the button. The Leave Request page is displayed.

- Complete the following fields:
- Select the button. The message is displayed. The request is routed to the appropriate supervisor for approval and will populate to the timesheet when approved. The Activity Log is now displayed.
At this point, the following options are available:
Step
Description
Select the button
Returns you to the previous page.
Select the tab
Returns you to the Employee Main Menu page.
Select
Logs you out of webTA.
See Also |