Leave Data Transfer - 160
Per OPM guidance, the SF 1150, Record of Leave Data, is the official record of leave data used to transfer leave between Federal Agencies. It provides a comprehensive record of an employee's leave data, including annual leave, sick leave, and other types of leave. When an employee separates from an Agency, the form is created by the losing Agency, filed in the employee’s Official Personnel Folder (OPF) or electronic OPF (eOPF) and forwarded to either the National Personnel Records Center for separated employees or the gaining Agency as part of the OPF/eOPF.
Example: A USDA Animal and Plant Health Inspection Service (APHIS) employee transfers to OPM. The USDA APHIS, POI 4822 is responsible for preparing the SF 1150, scanning/loading it in eOPF, and transferring the eOPF to OPM POI 1000.
After the SF 1150 is received, the gaining Agency POI processes document type 160, Leave Data Transfer, to record the data in the NFC system. When the SF 1150 is not received timely, the gaining Agency POI should contact the losing Agency to determine why there is a delay.
This section explains how to add an employee’s leave data into NFC PPS from data submitted on Form SF 1150.
Note: Refer to the Processing Tip on SF 1150 for information on the process used to enter leave data in the NFC system when an SF 1150 is received for a new employee and the process used to create and print the SF 1150 in the NFC system for a separating employee.
Entering 160 Leave Data Transfer Actions
- To enter a 160 Leave Data Transfer action, select EPIC from the EPIC Web menu bar. The Document List page is displayed. If documents have been processed, the Document List page is displayed with a list of documents. If no documents have been processed, the Document List page is blank.
- Select New. The New Document Selection menu is displayed. An alphabetical list of Payroll Actions documents appear on this menu.
- Select the 160 Leave Data Transfer tab. The Key Data tab is displayed.
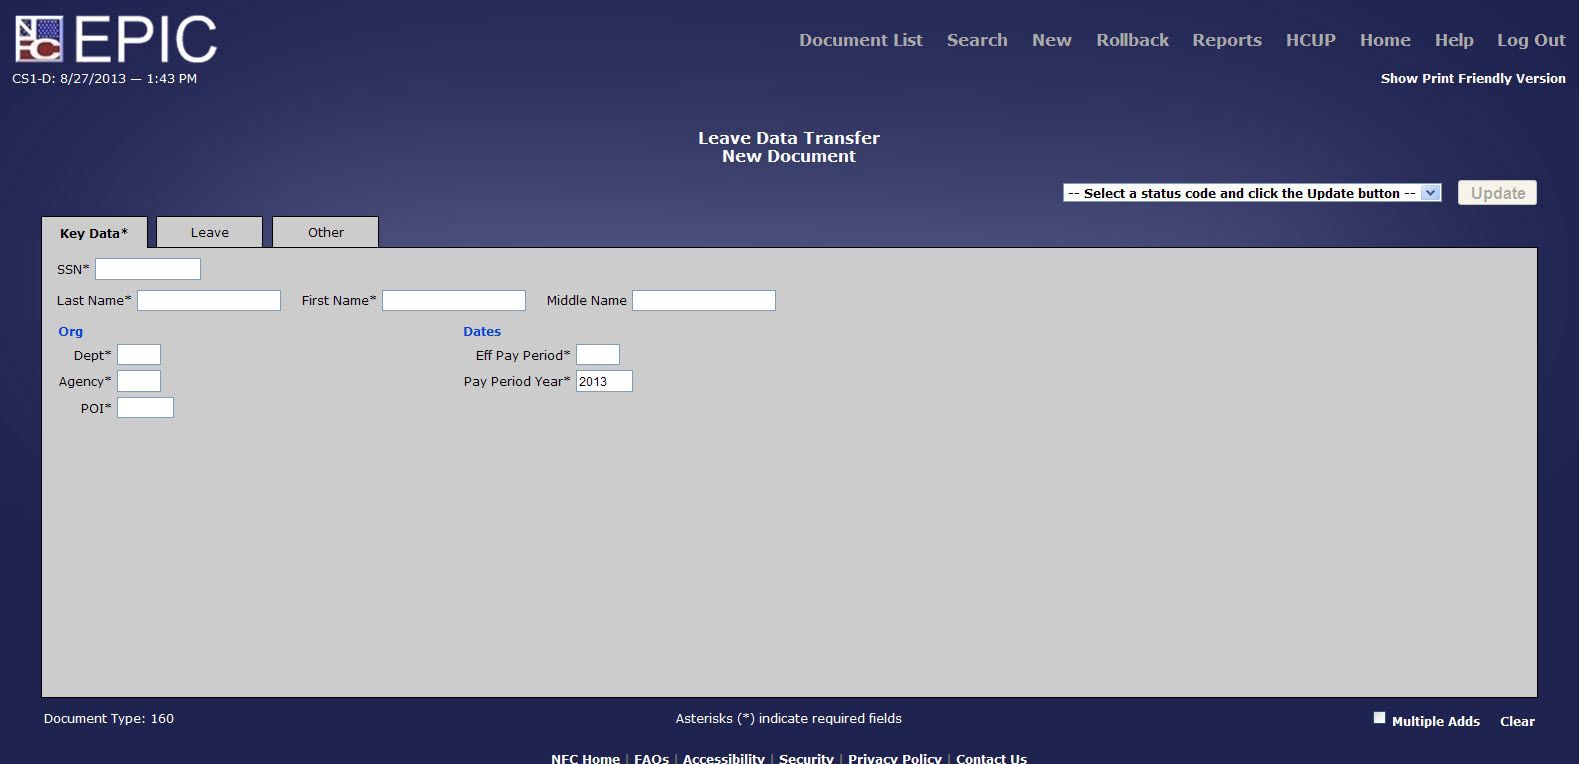
Figure 136: Leave Data Transfer - Key Data Tab
- Complete the fields on the Key Data tab.
Note: Required fields are marked with an asterisk. All other fields are optional.
Eff Pay Period Field Instruction
Pay Period Year Field Instruction
- Select the Leave tab. The Leave tab is displayed.
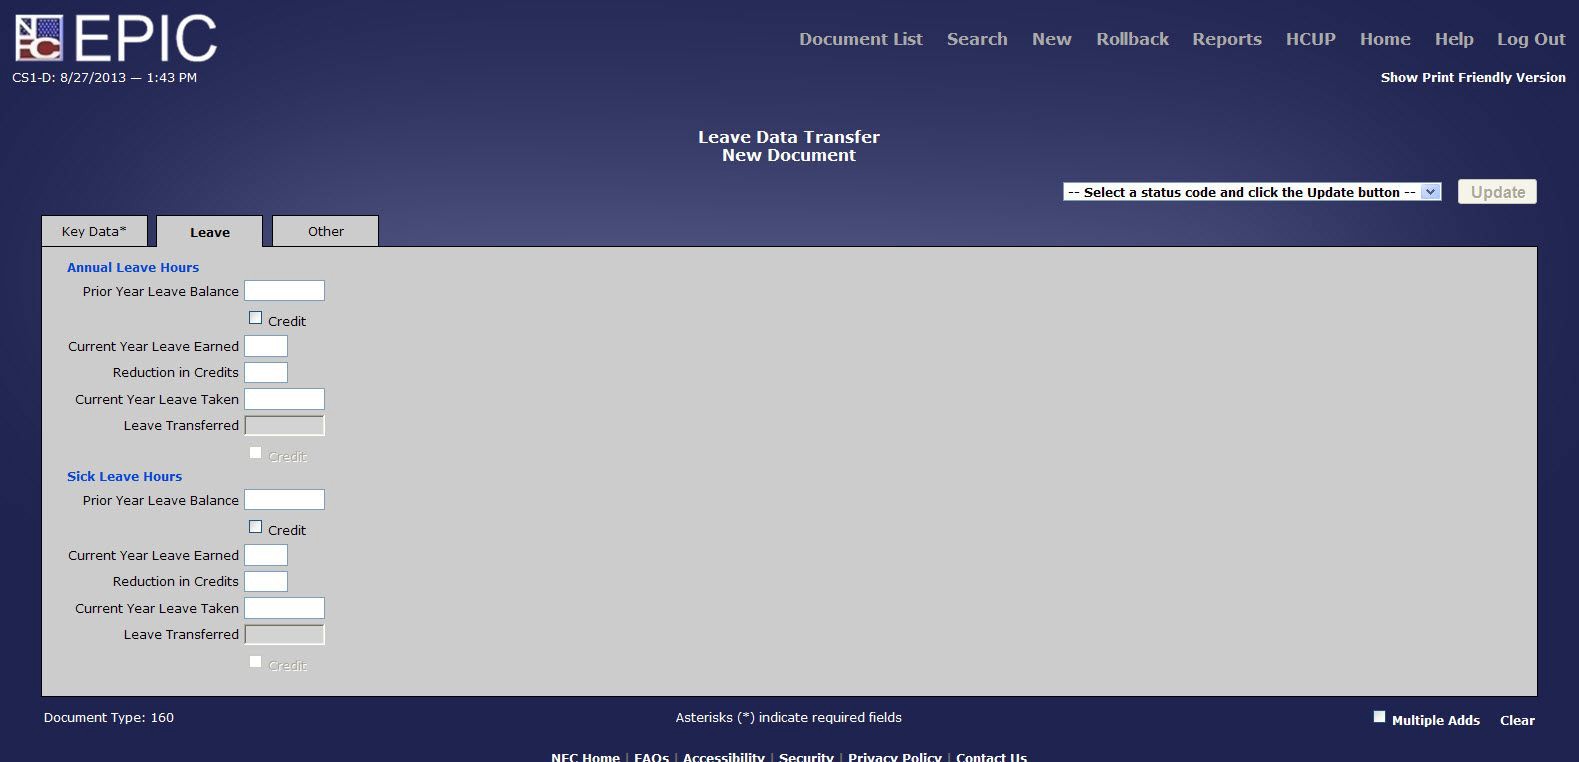
Figure 137: Leave Data Transfer - Leave Tab
- Complete the fields on the Leave tab.
Prior Year Leave Balance Field Instruction
Credit (Leave Transferred) Field Instruction
Current Year Leave Earned Field Instruction
Reduction in Credits Field Instruction
Current Year Leave Taken Field Instruction
Leave Transferred Field Instruction
Credit (Leave Transferred) Field Instruction
Prior Year Leave Balance Field Instruction
Credit (Leave Transferred) Field Instruction
Current Year Leave Earned Field Instruction
Reduction in Credits Field Instruction
Current Year Leave Taken Field Instruction
Leave Transferred Field Instruction
Credit (Leave Transferred) Field Instruction
- Select the Other tab. The Other tab is displayed.
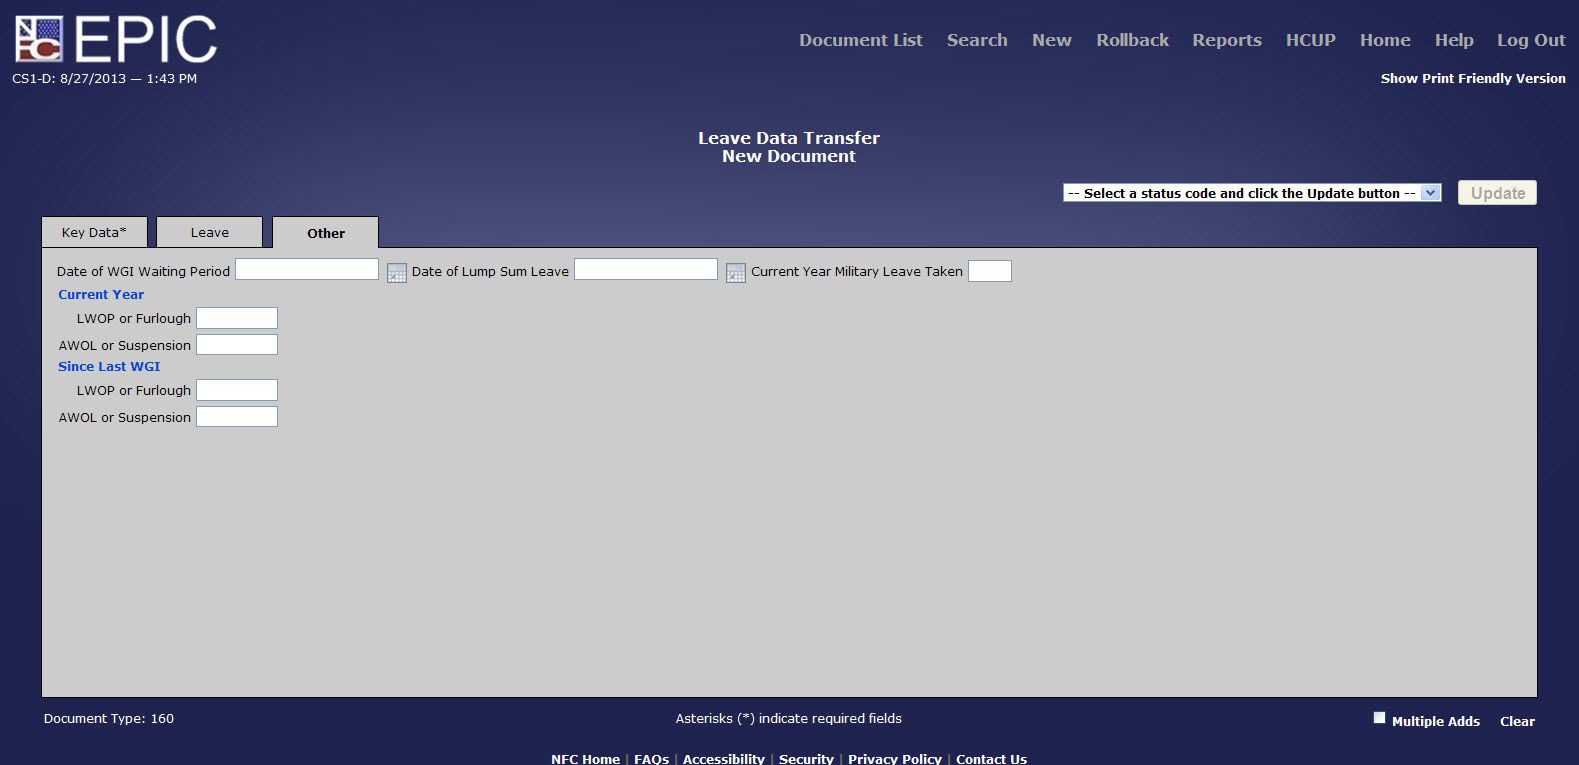
Figure 138: Leave Data Transfer - Other Tab
- Complete the fields on the Other tab.
Date of WGI Waiting Period Field Instruction
Date of Lump Sum Leave Field Instruction
Current Year Military Leave Taken Field Instruction
LWOP or Furlough (Current Year) Field Instruction
AWOL or Suspension (Current Year) Field Instruction
LWOP or Furlough (Since Last WGI) Field Instruction
AWOL or Suspension (Current Year) Field Instruction
- Select the applicable Status Input Code from the drop-down list on the top of the page. At this point, the following status input codes are available.
|
Code |
Description |
|---|---|
|
H (Hold until Release) |
To place a transaction on hold. If the status is not changed, the system will automatically delete the action after 60 days. |
|
I (Save as Incomplete) |
To save the transaction that is partially completed and held in EPIC without being edited. After completing the action, change the status code to R or H. If the status code is not changed, EPIC Web will automatically delete the action after 60 days. |
|
R (Release for Processing) |
To release the transaction from EPIC Web to be edited in PINE. |
Note: To add an additional address without returning to the menu, select the Multiple Adds link on the bottom right corner of the page. The page is refreshed for the next entry.
- Select the Update button to save the entries.