Corrected Timesheets
GovTA allows timekeepers to create corrected timesheets going back one year, provided the original timesheet was created using GovTA. There are two types of corrections. A corrected timesheet cannot be coded Final. Remarks are required on a corrected timesheet.
Note: If a timesheet is available for a given pay period, it is designated as Historical and will be copied for the correction. This is referred to as a historical correction. If a timesheet is not available, it is designated as Missing, and a new historical record must be created. This is referred to as a non-historical correction.
- Local corrections - Local corrections allow a timekeeper to correct a timesheet locally without transmitting it to NFC during the build process. Timekeepers can create historical local corrections, but only master timekeepers can create non-historical local corrections. Local corrections can be validated and certified just like regular timesheets but will not be transmitted to NFC. Local corrections are displayed as (LC).
- Regular Corrections - Regular corrections allow a timekeeper to correct a regular timesheet that is less than 1 year old (cannot go back more than 26 pay periods). Timekeepers can create a non-historical correction. For non-historical corrections, timekeepers will first have to create timesheet profile data for the employee and then create the timesheet for the selected pay period. For historical corrections, available timesheets for the selected pay period will be loaded for making changes. Regular corrections will be transmitted to NFC. Regular corrections are displayed as (C).
Note: When the correction (local, or regular) is completed and built, GovTA will roll updated leave balances forward to the current pay period for the employee. This only applies if all of the intervening pay period records exist in the database for the selected employee.
- To correct an employee's timesheet, select the Select Timesheets link from the Employees section on the Timekeeper Main Menu page. The Select Timesheets page is displayed.
Note: If performing this function as a delegate, select the filter icon to expand the filter options. Select the applicable Timekeeper from the Delegates For drop-down list. Select the Apply button to save the filter options. The Select Timesheets page for the selected timekeeper is displayed.

Figure 94: Select Timesheets Page
- Select the checkbox for the applicable employee.
- Select the Create Correction link from the Actions drop-down. The Create Correction page for the selected employee is displayed.
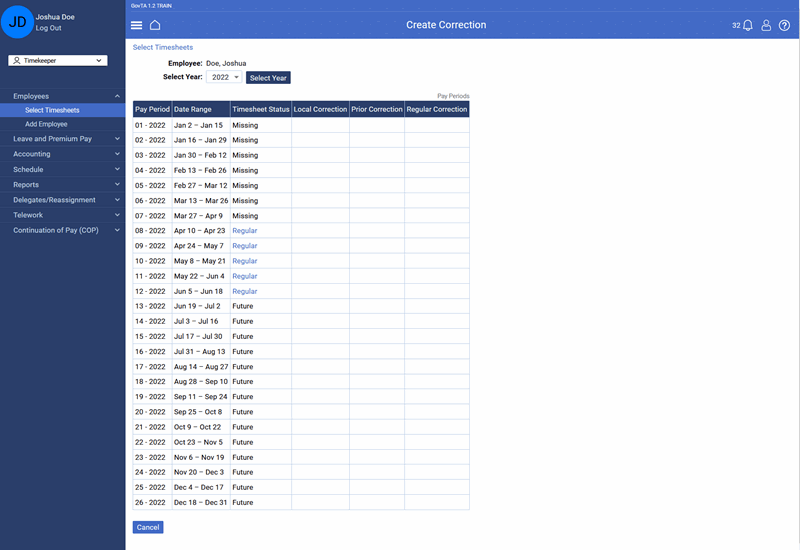
Figure 95: Create Correction Page
- Select the applicable timesheet for correction. The Timesheet is displayed.

Figure 96: Timesheet Page
- Make the applicable corrections.
- Select the Remarks tab.
- Enter applicable remarks in the Pay Period Remarks field.
- Select the Save button. The message Timesheet saved is displayed.
- Select the Validate button. The Timesheet Status is displayed as Validated, and a notification is sent to the employee.
- Select the Cancel button to return to the Select Timesheets page. The Timesheet is listed as corrected.